m (removed uncredited and fixed Johnson link) |
m (removed uncredited and fixed Johnson link) |
(No difference)
| |
Revision as of 14:02, 16 July 2014
 | ||
Appearing in "The Orton Medical Mission"
Featured Characters:
Supporting Characters:
Villains:
- Blake - (Death)
- Hank - (Death)
Other Characters:
- Tom
- Unnamed airport personnel
- Orton sheriff
- Unnamed coast guard captain and crew
Locations:
- New York
- New Jersey
- Newark Airport
- Lake Superior
- Orton
- Orton
Synopsis for "The Orton Medical Mission"
The Human Torch and his ally Johnson receive an SOS from Orton and island located on Lake Superior between Canada and the United States. With a blizzard approaching and no way for ships to reach the island they are in desperate need of medical supplies and are calling for an air shipment. The Torch and Johnson agree to fly out there and help the island. Calling Newark Airport they arrange for a plane to be ready with the needed supplies and rush out to the airport. However, when they arrive the manager of the airport decides it is too dangerous to fly planes due to the blizzard. The Torch, not willing to wait for the storm to pass knocks out the manager with a single punch and he and Johnson take the airplane.
While the two men are flying in the town of Orton, two crooks named Blake and Hank manage to break out of their jail cells, shooting the deputy sheriff in the process. They steal a bunch of supplies and a dog sled and head out into the wilderness to find cover. As this is happening, the rough weather causes the plane carrying the Torch and Johnson to crash land near the escaping fugitives. Seeing this as an opportunity the two crooks search the plane and find the medical supplies. Realizing they can ransom the town for them, they take them all and then ignite the gas tank of the plane, leaving the Torch and Johnson to die. The Human Torch, protected by his immunity to fire stirs first and pulls Johnson out of the flaming wreck. Before the plane can explode, the Torch runs back in and searches for the supplies, finding no trace of them -- not even burned cinders -- he deduces that they were stolen.
With the storm picking up and Johnson at risk of freezing, the Torch uses his powers to clear a path through the snow and keep his friend warm. They come across a ship trapped in the ice and the Torch pulls it to port, using his powers to melt the ice blocking its path. Along the way, the ship is pelted with bombs from a plane stolen by the two crooks. When the Torch attempts to go after them he finds that he has exhausted his flame powers, however he notices their plane get caught in an air pocket and crash.
When his flame powers restore themselves, the Torch chases after the crooks chasing however they trick him into coming too close to an edge, causing himself to fall into the ground below. However, he burns his way through to an iron ore deposit that happens to lead him to an abandoned mine that the crooks are holed up in. The Torch gives them chase and when the two crooks attempt to escape by dog sled he uses his powers to put a ring of fire around them and force them to return to the authorities.
However, when they are sent ahead of the Torch, they break free and try to make a run for it. When the Torch attempts to stop them near an ice flow, his flame powers causes the ice to break sending the two criminals to an icy death, a fate that the Torch believes is fitting for the two criminals.
Appearing in "Adventure of the Overturned Cars"
Featured Characters:
Villains:
- Bank robbers
- Slugger
- Nick
- Other unnamed thugs
Other Characters:
- Mulligan, a policeman
- Mary, a bank worker
Locations:
Synopsis for "Adventure of the Overturned Cars"
Officer Mulligan is surprised when he is asked by a well dressed man to help him overturn a car. After he complies the man runs off leaving the officer even more confused when he sees that every other car on the street has been turned over as well. This man is none other than the Angel, and once in the seclusion of an alleyway he strips down to his costume and climbs the roof of a bank. Once there he prepares a lasso and waits for the action to start.
Inside the bank there are a bunch of hold-up men inside just finished their robbery. They have the teller Miss Mary go outside, but warn her against raising alarm by threatening to shoot her. While she is outside, she is quickly pulled up to safety by the Angle, leaving Officer Mulligan even more confused than ever.
Going outside to see where the girl went, the mobsters are startled by the officer and quickly knock him out. Rushing to their getaway vehicles they are shocked to find them all upturned when the Angle swings into action, grabbing their leader Nick and using him as a human shield. He orders the other crooks to surrender, however they decide to ditch their leader and make a getaway when they take knock out a passing cab driver. Furious at being left behind Nick pulls out his gun and begins shooting at his betraying henchmen, however the Angel quickly knocks him out with a sucker punch.
Jumping down onto the roof of the cab, the Angel pulls the driver out of the car, knocking him out with a punch and leaving the other robbers to crash. He soon makes short work of the remaining crooks and ties them up near Officer Mulligan. Waking up, Mulligan is shocked to see what has transpired, and calls it in thinking that he beat the crooks up all by himself.
Appearing in "On the Side of the Surface Men"
Featured Characters:
Supporting Characters:
Villains:
- Mills Gilligan (Single appearance)[1]
- Other gang members
Other Characters:
- Unnamed Atlanteans
- Mickey, Danny and several policemen
- Various New Yorkers
Locations:
- North Sea
- Antarctica
- Atlantean Ice Castle
- New York
- New York City
- New York Treasury
- New York City
Vehicles:
- U.S.S. Marie, a freighter
- Atlantean "aerial-submarines"
Synopsis for "On the Side of the Surface Men"
Continued from last issue...
The Sub-Mariner helps the US freight ship the "Marie" bringing it to it's intended destination. With the ship safe, it's captain thanks Namor for his help before the Sub-Mariner returns to the sea. Recalling his troops back to Atlantis, Namor decides to ask the Holy One to allow him to return to the surface to help the surface people, considering that he is half human, half Atlantean. The Holy One likes the idea, and although such a request would anger Namor's mother, the Holy One allows him to go.
Dressing in a caped outfit, the Sub-Mariner races back to New York City seeking to reunite with Betty Dean, but mindful of the fact that he is still wanted by police. Upon his arrival at the docks on New York Harbor, Namor is spotted by some beat cops who attempt to arrest him. This soon leads to a city wide chase that ends when Namor is downed by a paramedic armed with a sponge doused with chloroform.
Namor is then contained in a jail cell and revives to find Betty Dean in his presence. Telling Dean that he has returned to help the human race he asks for an opportunity to prove himself. Such an opportunity arises when reports of a subway flooding are reported. Betty manages to convince her superiors to let him go to prove himself.
After rescuing the trapped passengers, Namor investigates the flood and realizes that it's not from a burst pipe. Exploring through the leaks source he stumbles upon a group of thugs tunneling into the New York Treasury, using the water ways defending it's underground safe to flood the subway as a distraction. Namor easily defeats the crooks and prevents them from stealing the bars of gold and silver bullion. When he turns them over to the police, their leader is identified as Mills Gilligan. When they ask how Namor stumbled upon their plot, he explains how he deduced the flood was not from a broken water main.
Appearing in "Mystery of the Poisoned Arrows"
Featured Characters:
Supporting Characters:
Villains:
- Grimsey (Single appearance)[1]
- Manuel
Other Characters:
- Bill, a deputy
- Sam - (Death)
- Bart Simms - (Death)
- Unnamed Fade-Outs citizens
Locations:
- "Fade-Outs"
- Robber's Rock
Synopsis for "Mystery of the Poisoned Arrows"
In the town Fade-Out, Sheriff Ben Wallis is dealing with a series of unsolved murders during an upcoming election for his job. He fears that someone is trying to foul him up close to election time so that he is not nominated again. As he explains this to a colleague he witnesses another horseback rider get struck dead by an arrow. Taking the dead man back to town, Wallis is mocked by some of the trouble makers in town and a fight breaks out.
As the fight is happening a man named Grimsey -- who is competing with Wallis for sheriff -- watches with great interest. The fight is abruptly stopped when another man is struck and killed by an arrow. Grimsey suggests that the only person who could possibly shoot an arrow so skillfully would be "Injun" Joe. Injun Joe is remembered as someone who once was cleared of a horse stealing charge and was against the use of guns in favor of the bow and arrow. Soon the coroner informs the sheriff that he tips of the arrows had been poisoned.
Deciding to investigate the murder scene at Robber's Rock, the sheriff encounters the Masked Raider. When the Raider offers his aid, Wallis attempts to apprehend him, prompting the Raider to knock him out. The Raider beats him in a fist fight and tells him his plan to reveal the murderer, convincing Wallis to camp out for the night.
Posting a phony threat with an arrow, the Masked Raider watches Grimsey's home with a keen eye. Grimsey who has hired a man named Miguel to commit the murders and frame Injun Joe is furious at this unplanned circumstance and decides to pay his partner a visit. Unknown to him, the Masked Raider follows him and learns of the plot to replace Wallis as sheriff. Although the Raider's retreat is overheard by the two men, they fail to recognize him or take him down with their shots.
The Raider reunites with the sheriff and they find the unconscious body of Injun Joe who had been pinned under a rock to further implicate him in the frame up job. Taking Injun Joe to the sheriffs office, the Masked Raider tells Wallis to go and challenge Grimsey to a duel. When he does, they meet at Robbers Rock where Grimsey has Miguel stationed to fire a poisoned arrow at Wallis. The Masked Raider is there however, and he shoots the arrow before it can be fired, and Wallis rounds up his would be murderers. After the Masked Raider leaves town, Wallis is reelected sheriff of Fade-Out.
Appearing in "It's in the Cards"
Featured Characters:
- Ace & Jean Carver
Villains:
- Slit Kinade
Other Characters:
- Bill Creele - (Death)
Synopsis for "It's in the Cards"
Ace Carver, part of a husband and wife duo called the "Clever Carvers" (who have a stage show memory game) is the only witness to the murder of Billy Creele who was fatally stabbed when his knife throwing partner "Slit" Kinadle tossed a knife while drunk. While Ace's wife worries that "Slit" might target her husband he sends her off to the show by herself while he secludes himself until he can testify. She tells him that she will call him at the theater when she gets there.
Soon enough, Slit makes an appearance and at gun point threatens to shoot Ace if he doesn't write a confession to the District Attorney stating that the death was an accident. When the phone begins to ring, Ace explains that his wife was supposed to call and ask him what he wanted for supper. Slit orders Ace to answer the phone and tell his wife to come home and to do it naturally. Ace seemingly does, however when his wife arrives she does so with a police officer who promptly gets the drop on Slit and makes him surrender. When he is being led away, Slit demands to know from Ace how he managed to tip off his wife. He reveals it was a trick he and his wife do for their memory show by calling her the wrong name he tipped her off to the fact something was wrong.
Appearing in "The Tyrant of Torpis"
Featured Characters:
Supporting Characters:
 Prof. Philo Zog
 - Operative One
- Bill, Operative Four
- King Sangor
Villains:
- Kalph Belgri (Only appearance; dies)[1]
Other Characters:
- Unnamed Molivian soldiers
- Unnamed soldiers of Belgri
Locations:
- New York
- Republic of Molivia
- Braka
- Braka
Synopsis for "The Tyrant of Torpis"
Professor Zog calls Operatives 1 and 4 to come to his office. He explains to them that there is a war breaking out in the Republic of Molivia and that the enemy forces are led by Kalph Belgri the tyrannical dictator of Torips who seeks to take control of the country. He orders the two operatives to fly there and summon Electro to stop the invasion attempt before Kalph Belgri can terrorize the entire world.
The two men take a plane to Molivia and are shocked at the sight of wanton destruction and the senseless murders of innocent men, women and children. Taken to the royal palace the king of Molivia offers the two Electro operatives to use his castle as their base of operations. Setting up their controls, they contact Professor Zog who allows them to summon Electro to Molivia.
The robot flies to the country, and arrives just as the battle begins. Electro enters the fray and proves to be immune to all the weapons that are thrown at him from guns, to cannons, to bombs. The robot easily smashes the army and sends them into retreat. Fearing that his death is imminent Kalph Belgri commits suicide ending his war against Molivia.
Appearing in "King of the Counterfeiters"
Featured Characters:
Supporting Characters:
- Nosey (First appearance)
Villains:
- Rickey and his gang
Other Characters:
- Police commissioner
- Frankie
- Several New Yorkers
Locations:
Synopsis for "King of the Counterfeiters"
The Ferret comes on the scene of the murder of a local stoolie and makes a bet with the police inspector: If given the most worthless item in the dead mans pockets he can solve the mystery before the police could. Tiring of the Ferret's presence the police chief humors the detective and lets him leave with a blank slip of paper.
As he drives back to his home, the Ferret is followed by another car that suddenly pulls up to him and opens fire. Although his windows are bullet proofed, one of the bullets strikes a tire causing him to crash. The shooters leave him for dead, however the Ferret and his pet ferret Nosey survive the crash. Taking the slip of paper to his home, the Ferret soaks it in water revealing a series of prices and an address.
Going to the address the Ferret is knocked out from behind and tied to a chair. He is then water tortured to get answers out of him however he refuses to do so. The crooks are confident that when their boss shows up he'll make the Ferret talk. Left alone, the Ferret whistles for Nosey who burrows his way into the room and frees his master from his bonds. Escaping he lets the crooks know of his flight by smashing a window. Running into an alleyway he sets a snare the trips up the crooks. Tying them up he waits for their boss to return to their hideout.
It turns out to be Ricky a known counterfeiter and when he attempts to shoot the Ferret, Nosey savagely attacks him, leaving him open for a knock out punch. Afterwards, Ferret reports back to the inspector who thanks the Ferret for his good work even though he made the police force look bad again.
Appearing in "Ka-Zar the Great: Fifth Episode"
Featured Characters:
Supporting Characters:
Villains:
- Paul DeKraft (Death)
- Ed Kivlin (Death)
- Aorangi (Only appearance; dies)[1]
- N'Jaga , the leopard
Other Characters:
- John Rand (Only in flashback)
- Bwala, Aorangi and other natives
Locations:
- Africa
- Belgian Congo
- Belgian Congo
Synopsis for "Ka-Zar the Great: Fifth Episode"
Continued from last issue..
Ed Kivlin has been confronted by Ka-Zar who warns him to leave the jungle or be killed. Instead, Kivlin returns and reports his encounter with the "white jungle god" to Paul de Kraft. When the commotion causes the natives to act restless, Kraft whips them back into submission and warns Kivlin to be quiet less the natives turn against them.
Paul then realizes the "white jungle god" must be none other than the boy of John Rand, the man he killed years earlier and decides to investigate. Going into the jungle, he finds the ruins of the Rand's makeshift home plus the graves of Ka-Zar's parents with fresh flowers confirming his suspicions. Paul de Kraft decides to catch Ka-Zar alive in order to put an end to the "jungle god nonsense" once and for all.
Meanwhile, Ka-Zar has sneaked into the camp and destroys all of the firearms inside the tents before fleeing into the jungle again. When de Kraft returns he blames Kivlin for doing so admitting that he intended on killing him to obtain all the emeralds for himself and shoots him dead. Witnessing this, Ka-Zar finds this in good fortune as it will help him defeat "Fat Face" once and for all.
After Kivlin is buried Ka-Zar swings through the jungle and is challenged by N'Jaga. Ka-Zar tells him they will fight another day, but Zar warns him that N'Jaga is a cunning foe and prone to treachery. Sneaking back into the camp Ka-Zar is caught at gun point by de Kraft, who decides to torture the jungle man before killing him. Showing the natives that he has captured the "white jungle god" he orders the natives to tie him up and stab him with spears and knives. However, while they are doing so, Ka-Zar refuses to cry out in pain.
Soon, the monkey named Nono comes to Ka-Zar's rescue, stealing the jungle man's knife and cutting his bonds. Free and armed with his weapon, he kills Aorangi the leader of the natives sending them all fleeing into the jungle. Shocked that his enemy is free, Paul attempts to shoot Ka-Zar down, however the hero manages to get close enough to his old foe and knock him down. With his enemy full at his mercy, Ka-Zar brings down his knife, swiftly killing De Kraft and avenging the death of his father. With this victory, Ka-Zar lets out a might lions roar.
Notes
- The stories of this issue are reprinted in other comics and books, see references for more info.[2]
Trivia
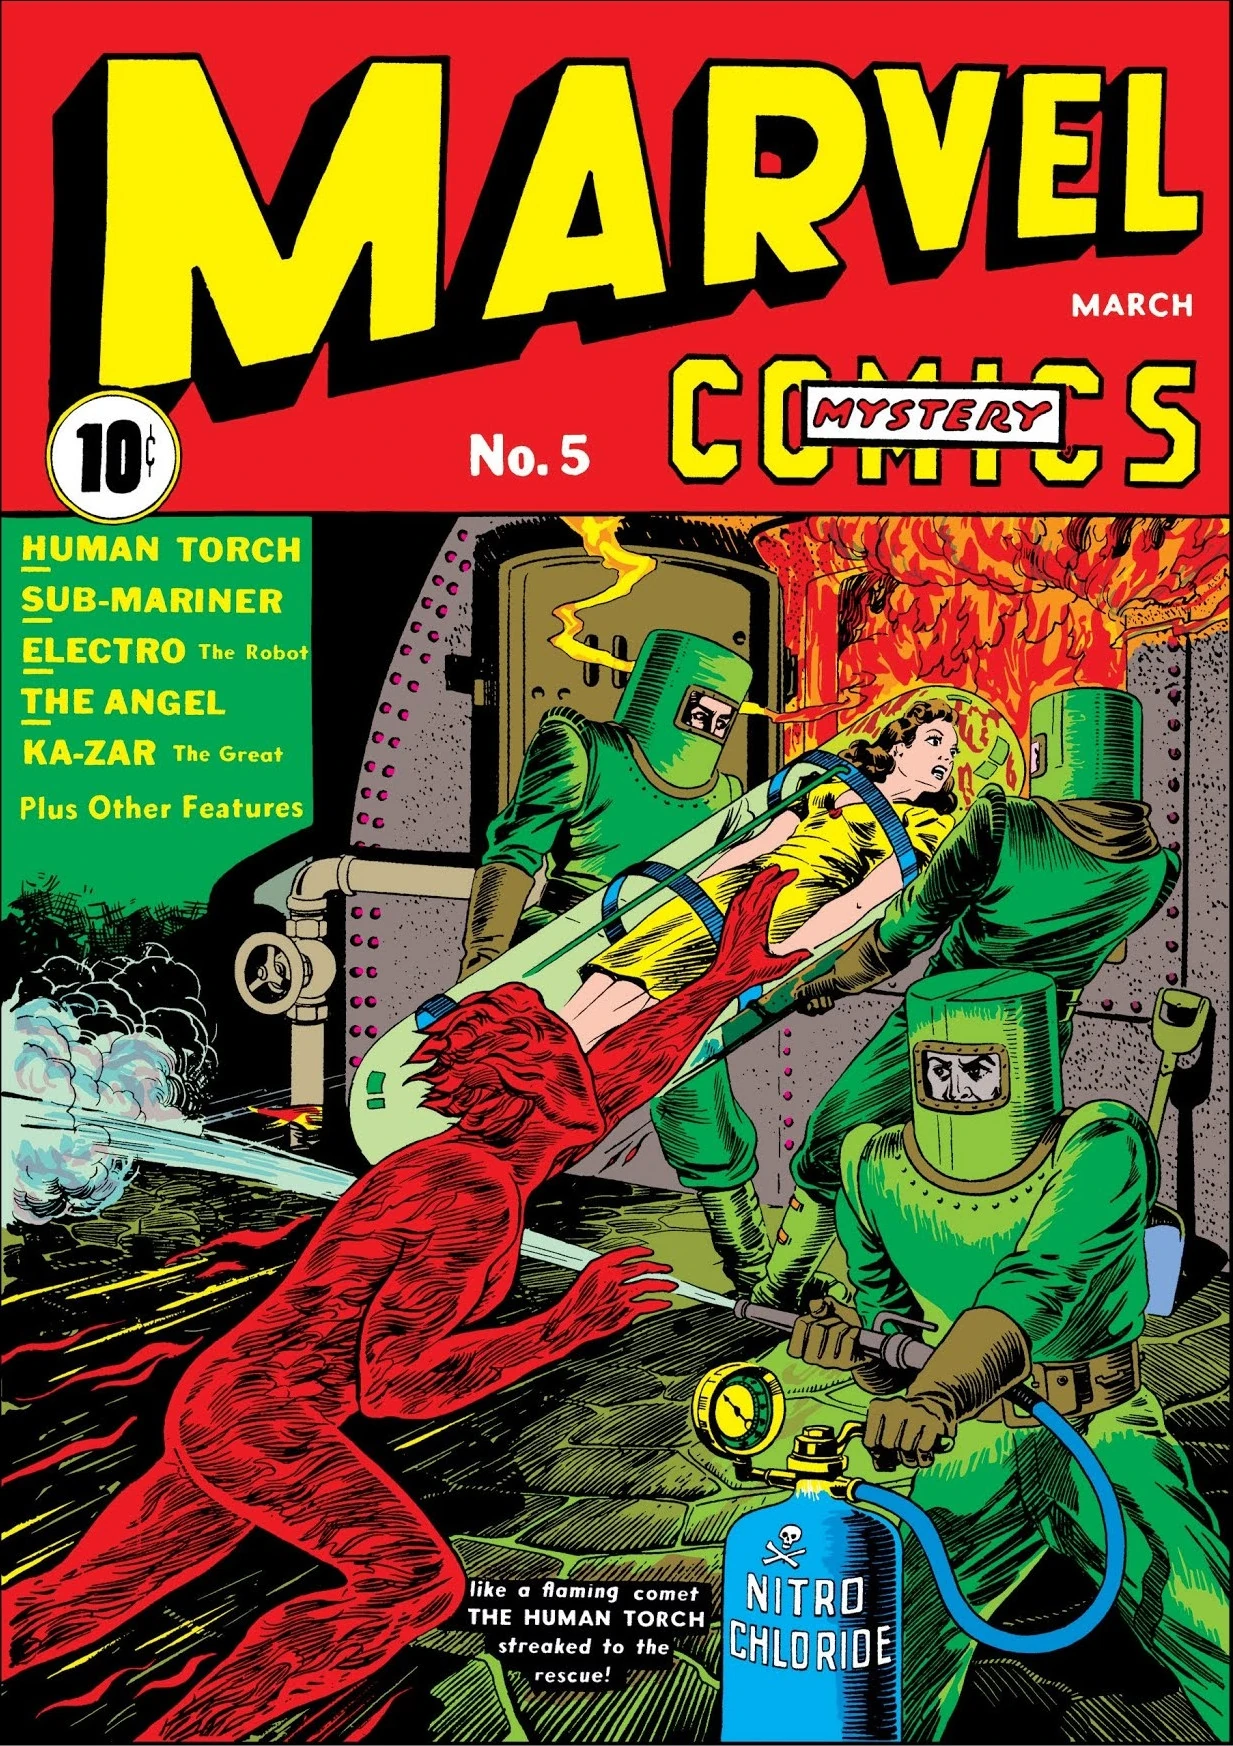
- The cover artwork does not match any of the stories in this issue.
See Also
- Write your own review of this comic!
- Discuss Marvel Mystery Comics Vol 1 5 on the forums
- Images from Marvel Mystery Comics Vol 1 5
Footnotes
- ↑ 1.0 1.1 1.2 1.3 1.4 First and only known appearance to date besides flashbacks
- ↑ The 1st story is reprinted in the following comics/TPB's:
- Golden Age Marvel Comics Omnibus HC #1 - 26th story
- Marvel Masterworks: Golden Age of Marvel Comics #2 - 1st story
- The 2nd story is reprinted in the following comics/TPB's:
- Golden Age Marvel Comics Omnibus HC #1 - 27th story
- Marvel Masterworks: Golden Age of Marvel Comics #2 - 2nd story
- The 3rd story is reprinted in the following comics/TPB's:
- Golden Age Marvel Comics Omnibus HC #1 - 28th story
- Marvel Masterworks: Golden Age of Marvel Comics #2 - 3rd story
- The 4th story is reprinted in the following comics/TPB's:
- Golden Age Marvel Comics Omnibus HC #1 - 29th story
- Marvel Masterworks: Golden Age of Marvel Comics #2 - 4th story
- The 6th story is reprinted in the following comics/TPB's:
- Golden Age Marvel Comics Omnibus HC #1 - 30th story
- Marvel Masterworks: Golden Age of Marvel Comics #2 - 5th story
- The 7th story is reprinted in the following comics/TPB's:
- Golden Age Marvel Comics Omnibus HC #1 - 31st story
- Marvel Masterworks: Golden Age of Marvel Comics #2 - 6th story
- Marvel Mystery Comics 70th Anniversary Special #1 - 3rd story
- The 8th story is reprinted in the following comics/TPB's:
- Golden Age Marvel Comics Omnibus HC #1 - 32nd story
- Marvel Masterworks: Golden Age of Marvel Comics #2 - 7th story
| |||||||||||||||||||||||||||||||||||||||